Integrate components you developed using Talend Component Kit to Talend Studio in a few steps. Also learn how to enable the developer and debugging modes to iterate on your component development.
Version compatibility
The version of Talend Component Kit you need to use to develop new components depends on the version of Talend Studio in which components will be integrated.
Refer to this document to learn about compatibility between Talend Component Kit and the different versions of Talend applications.
Installing the components
Learn how to build and deploy components to Talend Studio using Maven or Gradle Talend Component Kit plugins.
This can be done using the deploy-in-studio goal from your development environment.
If you are unfamiliar with component development, you can also follow this example to go through the entire process, from creating a project to using your new component in Talend Studio.
Configuring the component server
The Studio integration relies on the Component Server, that the Studio uses to gather data about components created using Talend Component Kit.
You can change the default configuration of component server by modifying the $STUDIO_HOME/configuration/config.ini file.
The following parameters are available:
| Name | Description | Default |
|---|---|---|
component.environment |
Enables the developer mode when set to |
- |
component.debounce.timeout |
Specifies the timeout (in milliseconds) before calling listeners in components Text fields |
750 |
component.kit.skip |
If set to |
false |
component.java.arguments |
Component server additional options |
- |
component.java.m2 |
Maven repository that the server uses to resolve components |
Defaults to the global Studio configuration |
component.java.coordinates |
A list of comma-separated GAV (groupId:artifactId:version) of components to register |
- |
component.java.registry |
A properties file with values matching component GAV (groupId:artifactId:version) registered at startup |
- |
component.java.port |
Sets the port to use for the server |
random |
components.server.beam.active |
Active, if set to true, Beam support (Experimental). It requires Beam SDK Java core dependencies to be available. |
false |
component.server.jul.forceConsole |
Adds a console handler to JUL to see logs in the console. This can be helpful in development because the formatting is clearer than the OSGi one in It uses the |
false |
Here is an example of a common developer configuration/config.ini file:
# use local .m2 instead of embedded studio one
maven.repository = global

# during development, see developer model part
component.environment = dev

# log into the console the component interactions - optional
component.server.jul.forceConsole = true
java.util.logging.SimpleFormatter.format = [%4$s] %5$s%6$s%n
Enabling the developer mode
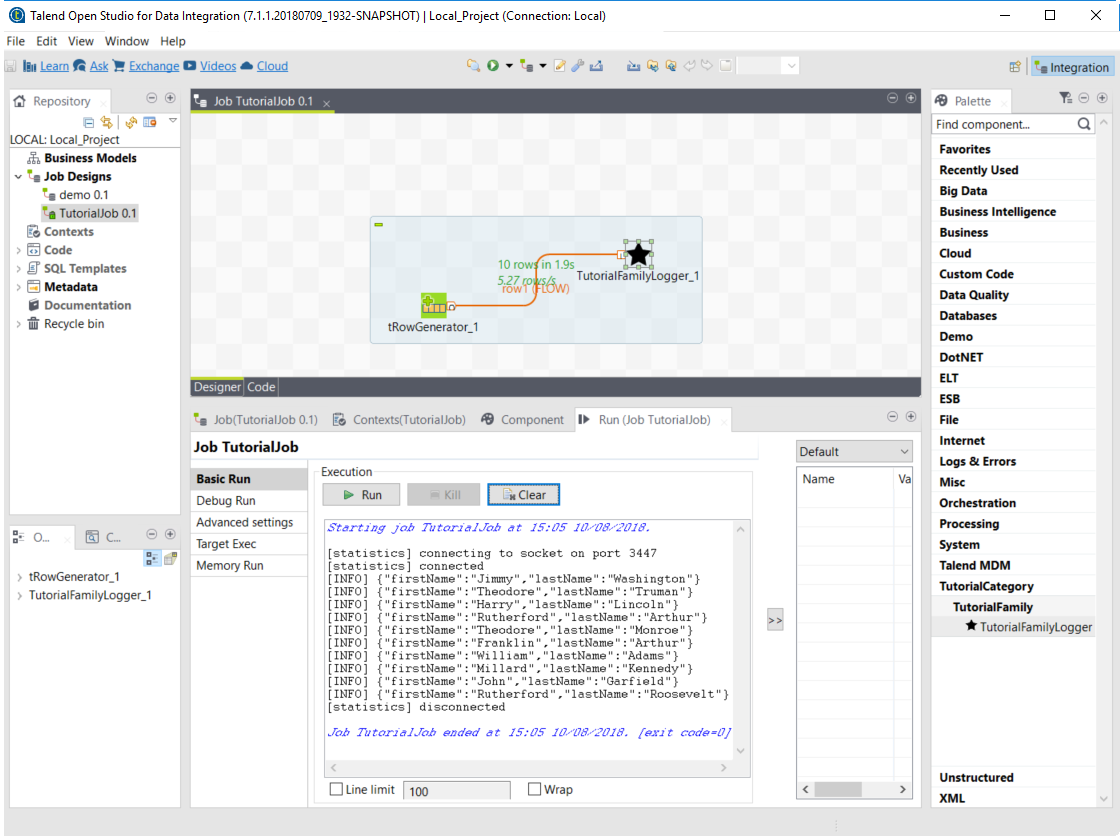
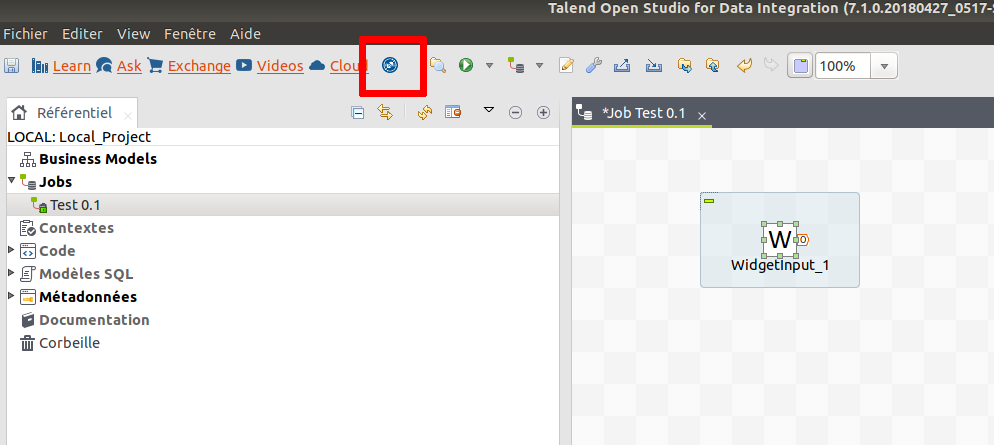
The developer mode is especially useful to iterate on your component development and to avoid closing and restarting Talend Studio every time you make a change to a component. It adds a Talend Component Kit button in the main toolbar:
When clicking this button, all components developed with the Talend Component Kit framework are reloaded. The cache is invalidated and the components refreshed.
| You still need to add and remove the components to see the changes. |
To enable it, simply set the component.environment parameter to dev in the config.ini configuration file of the component server.
Debugging your custom component in Talend Studio
Several methods allow you to debug custom components created with Talend Component Kit in Talend Studio.
Debugging the runtime or the Guess schema option of a component
-
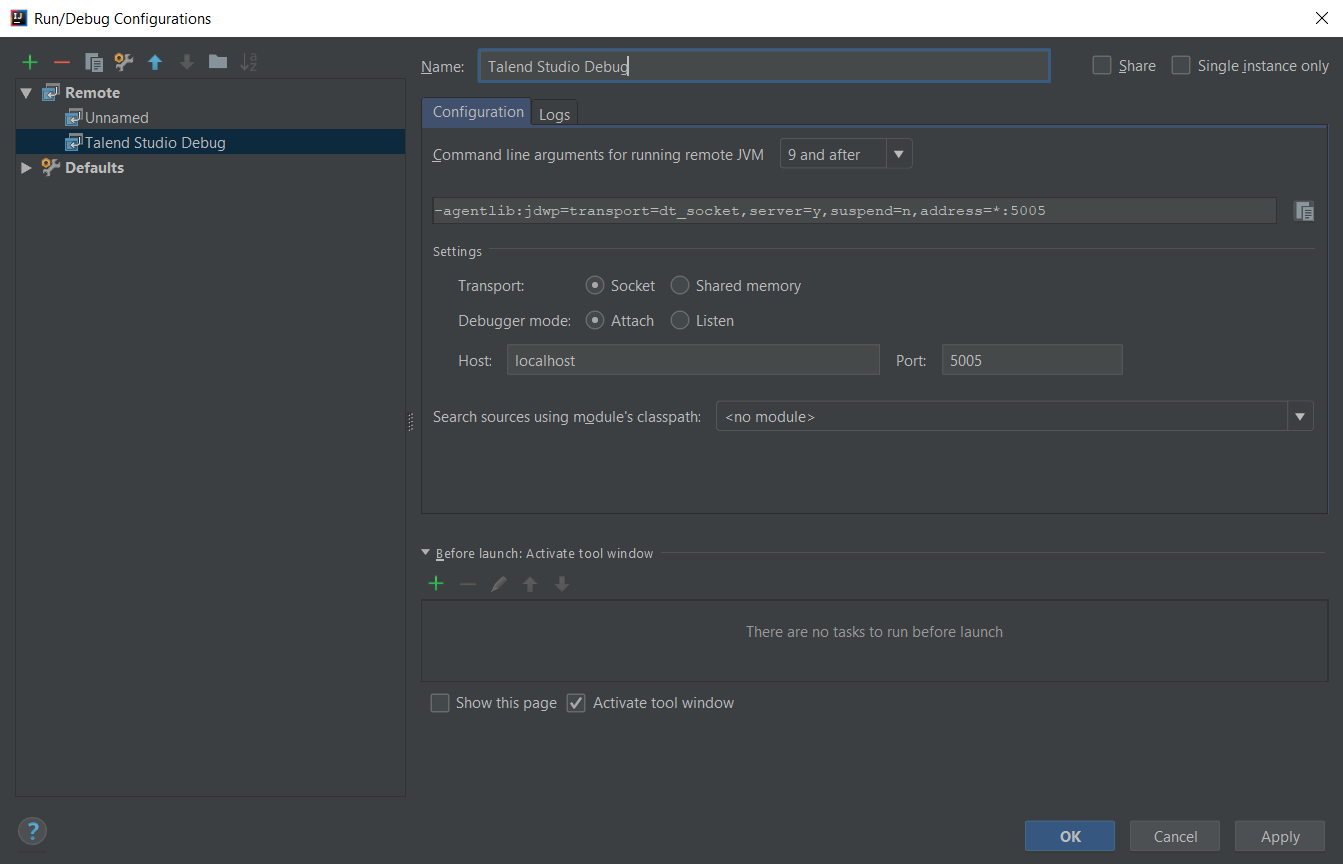
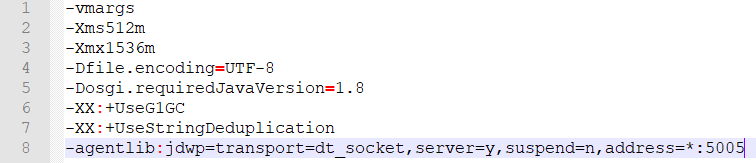
From your development tool, create a new Remote configuration, and copy the Command line arguments for running remote JVM field. For example,
-agentlib:jdwp=transport=dt_socket,server=y,suspend=n,address=*:5005, where:-
the suspend parameter of the -agentlib argument specifies whether you want to suspend the debugged JVM until the debugger attaches to it. Possible values are
n(no, default value) ory(yes). -
the address parameter of the -agentlib argument is the port used for the remote configuration. Make sure this port is available.
-
-
Open Talend Studio.
-
Create a new Job that uses the component you want to debug or open an existing one that already uses it.
-
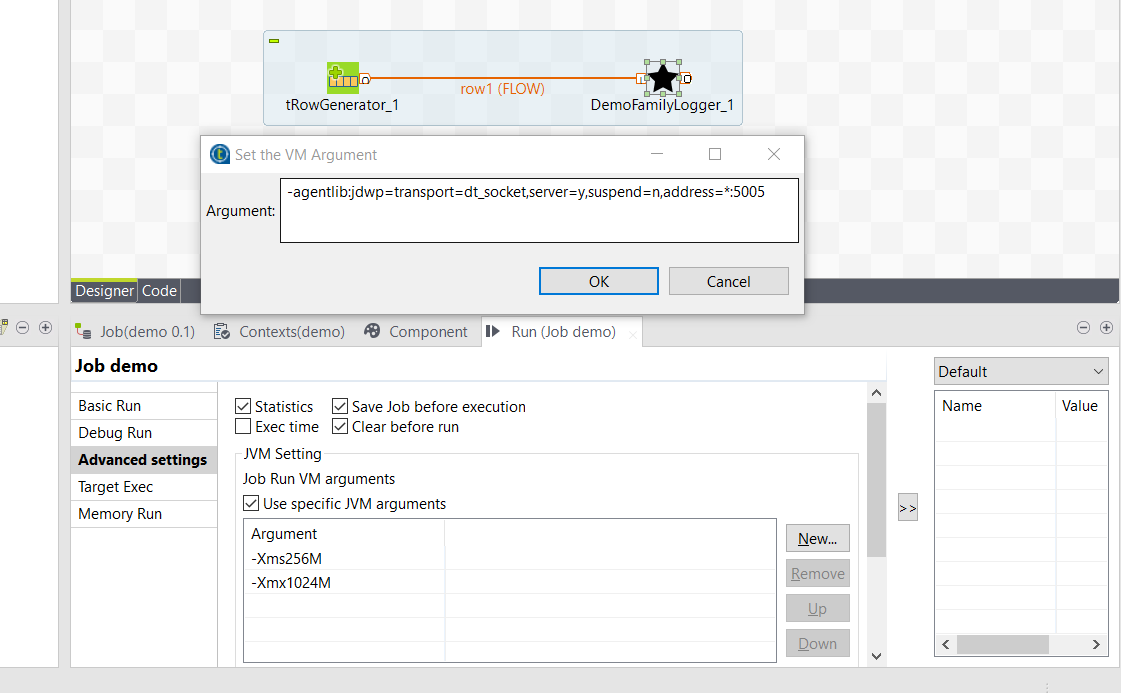
Go to the Run tab of the Job and select Use specific JVM arguments.
-
Click New to add an argument.
-
In the popup window, paste the arguments copied from the IDE.
-
Enter the corresponding debug mode:
-
To debug the runtime, run the Job and access the remote host configured in the IDE.
-
To debug the Guess schema option, click the Guess schema action button of the component and access the remote host configured in the IDE.
-


Debugging UI actions and validations
-
From your development tool, create a new Remote configuration, and copy the Command line arguments for running remote JVM field. For example,
-agentlib:jdwp=transport=dt_socket,server=y,suspend=n,address=*:5005, where:-
suspend defines whether you need to access the defined configuration to run the remote JVM. Possible values are
n(no, default value) ory(yes). -
address is the port used for the remote configuration. Make sure this port is available.
-
-
Access the installation directory of your Talend Sutdio.
-
Open the
.inifile corresponding to your Operating System. For example,TOS_DI-win-x86_64.ini. -
Paste the arguments copied from the IDE in a new line of the file.
-
Go to Talend Studio to use the component, and access the host host configured in the IDE.

Random port when running concurrent studio instances
If you run multiple Studio instances automatically in parallel, you can run into some issues with the random port computation. For example on a CI platform. For that purpose, you can create the $HOME/.talend/locks/org.talend.sdk.component.studio-integration.lock file.
Then, when a server starts, it acquires a lock on that file and prevents another server to get a port until it is started. It ensures that you can’t have two concurrent processes getting the same port allocated.
However, it is highly unlikely to happen on a desktop. In that case, forcing a different value through component.java.port in your config.ini file is a better solution for local installations.